基于Hexo创建博客
基础步骤
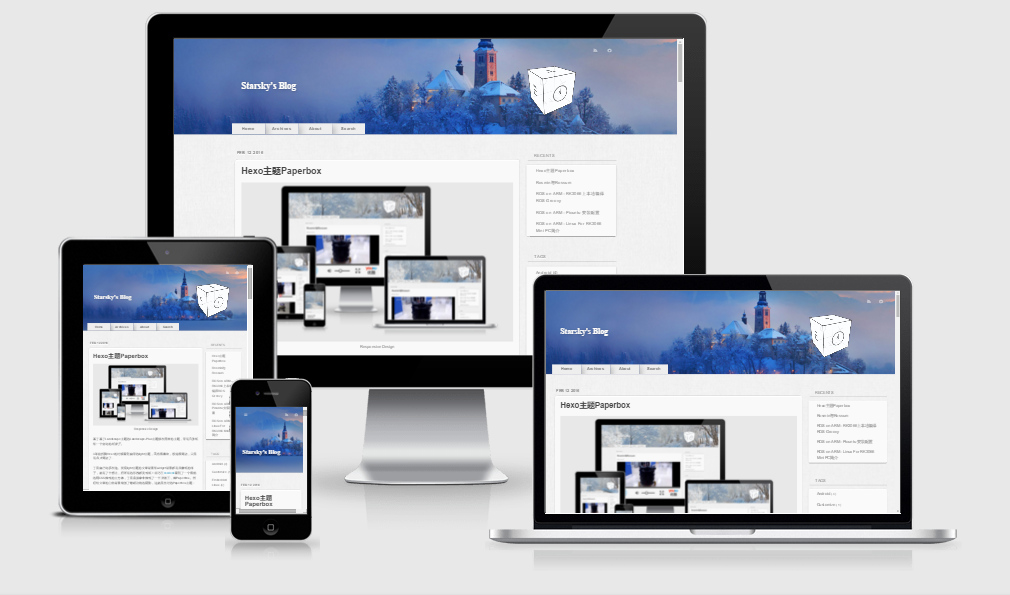
选择一个喜欢的主题,比如我曾经的选择Yelee,因为有自己喜欢的功能,而且很好看;后来觉得不适合我高冷的性格,换了paperbox
这里给个repo,大佬真牛逼,写得超详细:https://segmentfault.com/a/1190000017986794;不过它用的是next主题
安装Hexo
先安装准备 node 和 git 环境,mac下面直接用brew install xxx就成了
如果以上环境准备好了就可以使用 npm 开始安装 Hexo 了,官网有说
1 | npm install -g hexo-cli |
安装 Hexo 完成后,再执行下列命令,Hexo 将会在指定文件夹中新建所需要的文件。
1 | hexo init myBlog |
npm如果老提示permission deny的话,记得修改下权限
最后,运行 hexo s 命令,其中 s 是 server 的缩写,在浏览器中输入 http://localhost:4000 回车就可以预览效果了
git配置
网上找吧,太多了
github开一个repo
这个repo名字得是 your github name/github.io
然后打开项目根目录下的 _config.yml 配置文件配置参数。拉到文件末尾,填上配置
1 | deploy: |
安装一个插件
1 | npm install hexo-deployer-git --save |
最后,
1 | hexo g //generate |
应该能在你的repo下看见更新的内容了
hexo如何迁移和多电脑同步
参见:https://helloliwen.github.io/870ed150.html
总体来说不建议多电脑同步,有点麻烦且没必要
hexo博客搭建优化
关于如何提速
目前看到的是,压缩,图床,CDN
法一:买域名+coding同时部署+域名解析分流
法二:上图床,至少图片加载快一些
法三:压缩,至少加载内容少一些
我觉得法一最治本;但是目前来说我觉得比较经济简单的方法是
压缩:装个插件,最近发现的好东西,
npm install hexo-neat --save,然后配置到根目录的_config.yml下_config.yml 1
2
3
4
5
6
7
8
9
10
11
12
13
14
15
16##hexo-neat页面压缩
neat_enable: true
neat_html:
enable: true
exclude:
neat_css:
enable: true
exclude:
- '*.min.css'
neat_js:
enable: true
mangle: true
output:
compress:
exclude:
- '*.min.js'最后正常发布就行;
gulp我安装失败,很遗憾,参考在这里:https://www.karlzhou.com/articles/compress-minify-hexo/;有点年代了感觉
上图床:这个我觉得sm.ms比较好,但是图片上传之后要考虑以后图床关闭以及迁移,比如迁移到自己的服务器或者采用了法一,其实图床用处就不太大了,这里最好准备一下转换脚本
这两个一上,我估计我的blog速度应该会快很多;当然其实还是推荐买个域名,毕竟,github域名真的不太友好,貌似屏蔽了baidu的spider;域名直接在source目录下搞个CNAME,然后就会自动解析,最好勾选enable https选项
关于Yelee主题的一些问题
从这篇博客你就知道,这是一个笔误,是themes/yelee/layout/_partial/head.ejs中的这段代码的search: <%= theme.search.on %>定义有问题。
具体代码如下:
1 | <script> |
注意看这里最后一个search,里面用的是on,而在yelee主题的_config.xml里默认设置是search:onload:false,这里写的是onload而不是on,导致Uncaught ReferenceError: yiliaConfig is not defined。
解决方法是把两边的变量名改成一样就可以了,比如yelee主题的_config.xml里面的search:onload:false改成search:on:false,这样就正常运行了。
其余的问题Yelee官方里也说的很明白了,就不说了
关于paperbox主题的一些问题
单独写在别的博客里面了,不再赘述
 功德箱
功德箱